After Effects:
As with last week, most of this week has been spent either sorting out the different elements of this project or working on After Effects again, trying to make it more engaging and using the time more efficiently.
Again I was so focused on trying to do a good job I neglected the documentation of the changes I was doing and just changing things until I feel like they worked and then saved it and moved on.
Cowboy Bebop Test:
When I was staring at the same After Effects scenes for a while, I was going a bit mad and wanted to look at something different, something completely different. Also taking on board the note Paul gave me to do After Effects experiments on something else, away from the project, and then bring what I have learned into the main projects.
Help from Paul and Cat:
With the After Effects scenes to a point where I’m happy, Paul and Cat have helped me with coding the framework that turns my exported After Effects scenes into the interactive display I wanted.
Integrating the 3 selected photographs as buttons on the touch screen to select each scene.
Going through the logic and requirements of what I will actually need for each piece of this project to talk to each other and work seamlessly.

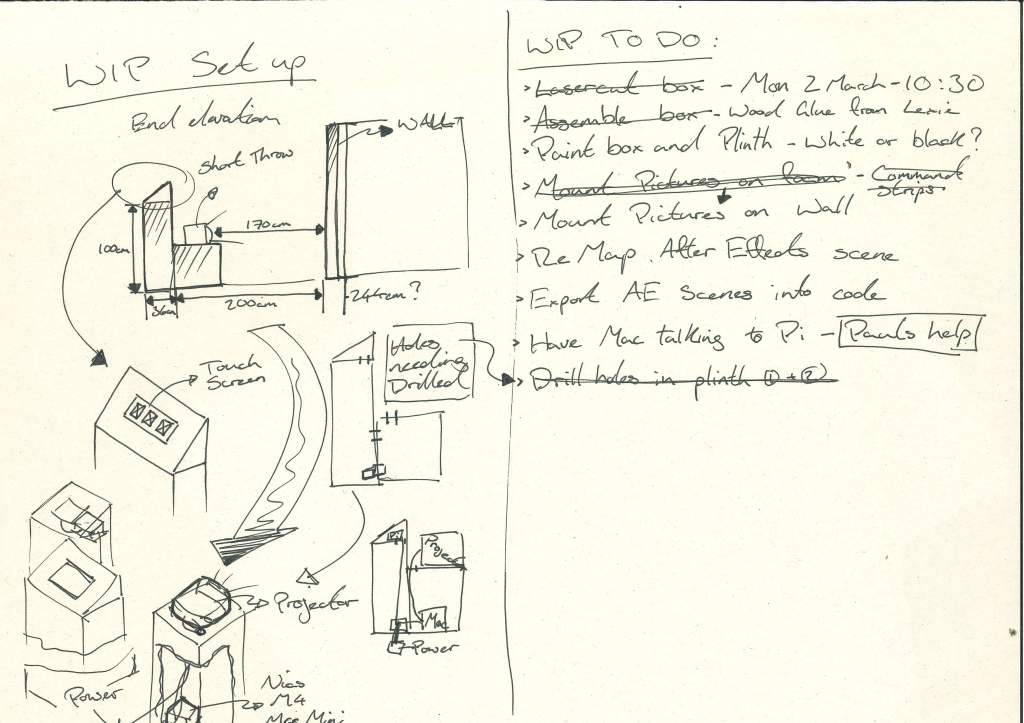
The Plinth and The Box:
Initially, my plan was to have a custom plinth made for the WIP that would hold everything, but after a conversation with Gillian, she pointed out that going through the effort of that might be too costly, take too much time and be a bit overkill when the WIP is just that a Work In Progress and not the final thing and that designing and building a custom plinth it better to do at the degree show.
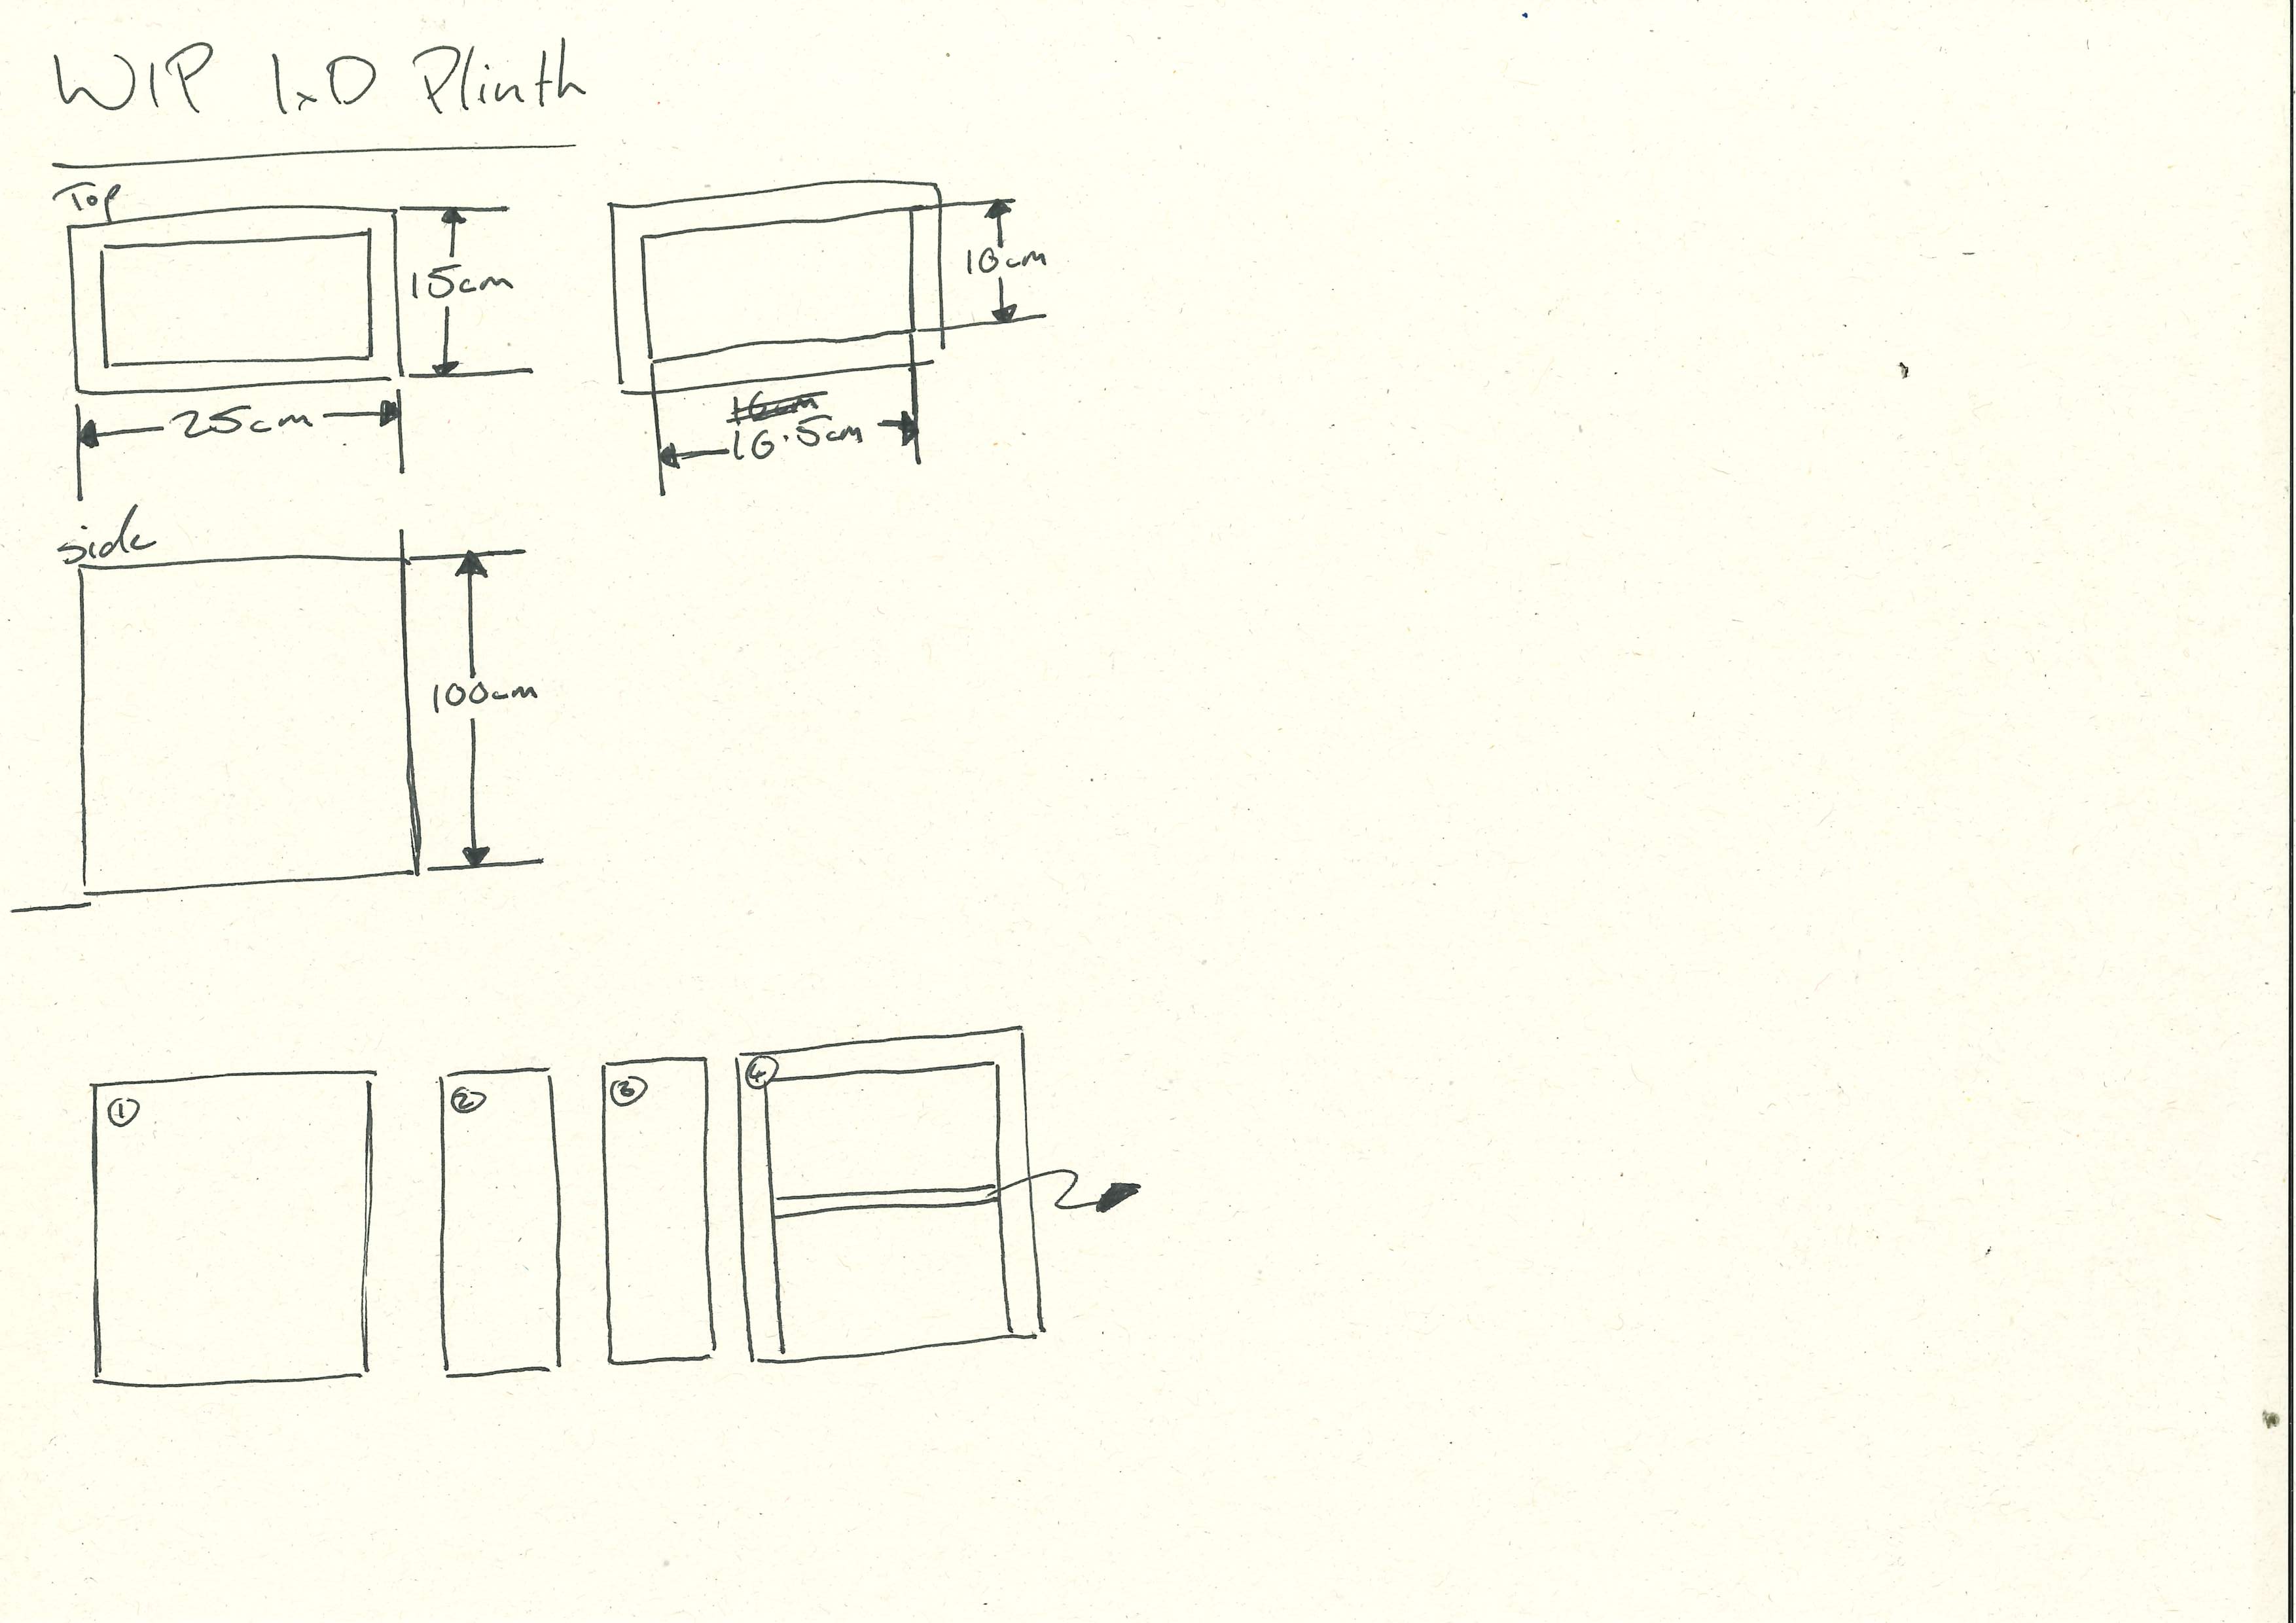

Above are some rough sketches of the sizes and requirements I would need for the WIP before changing the plan.
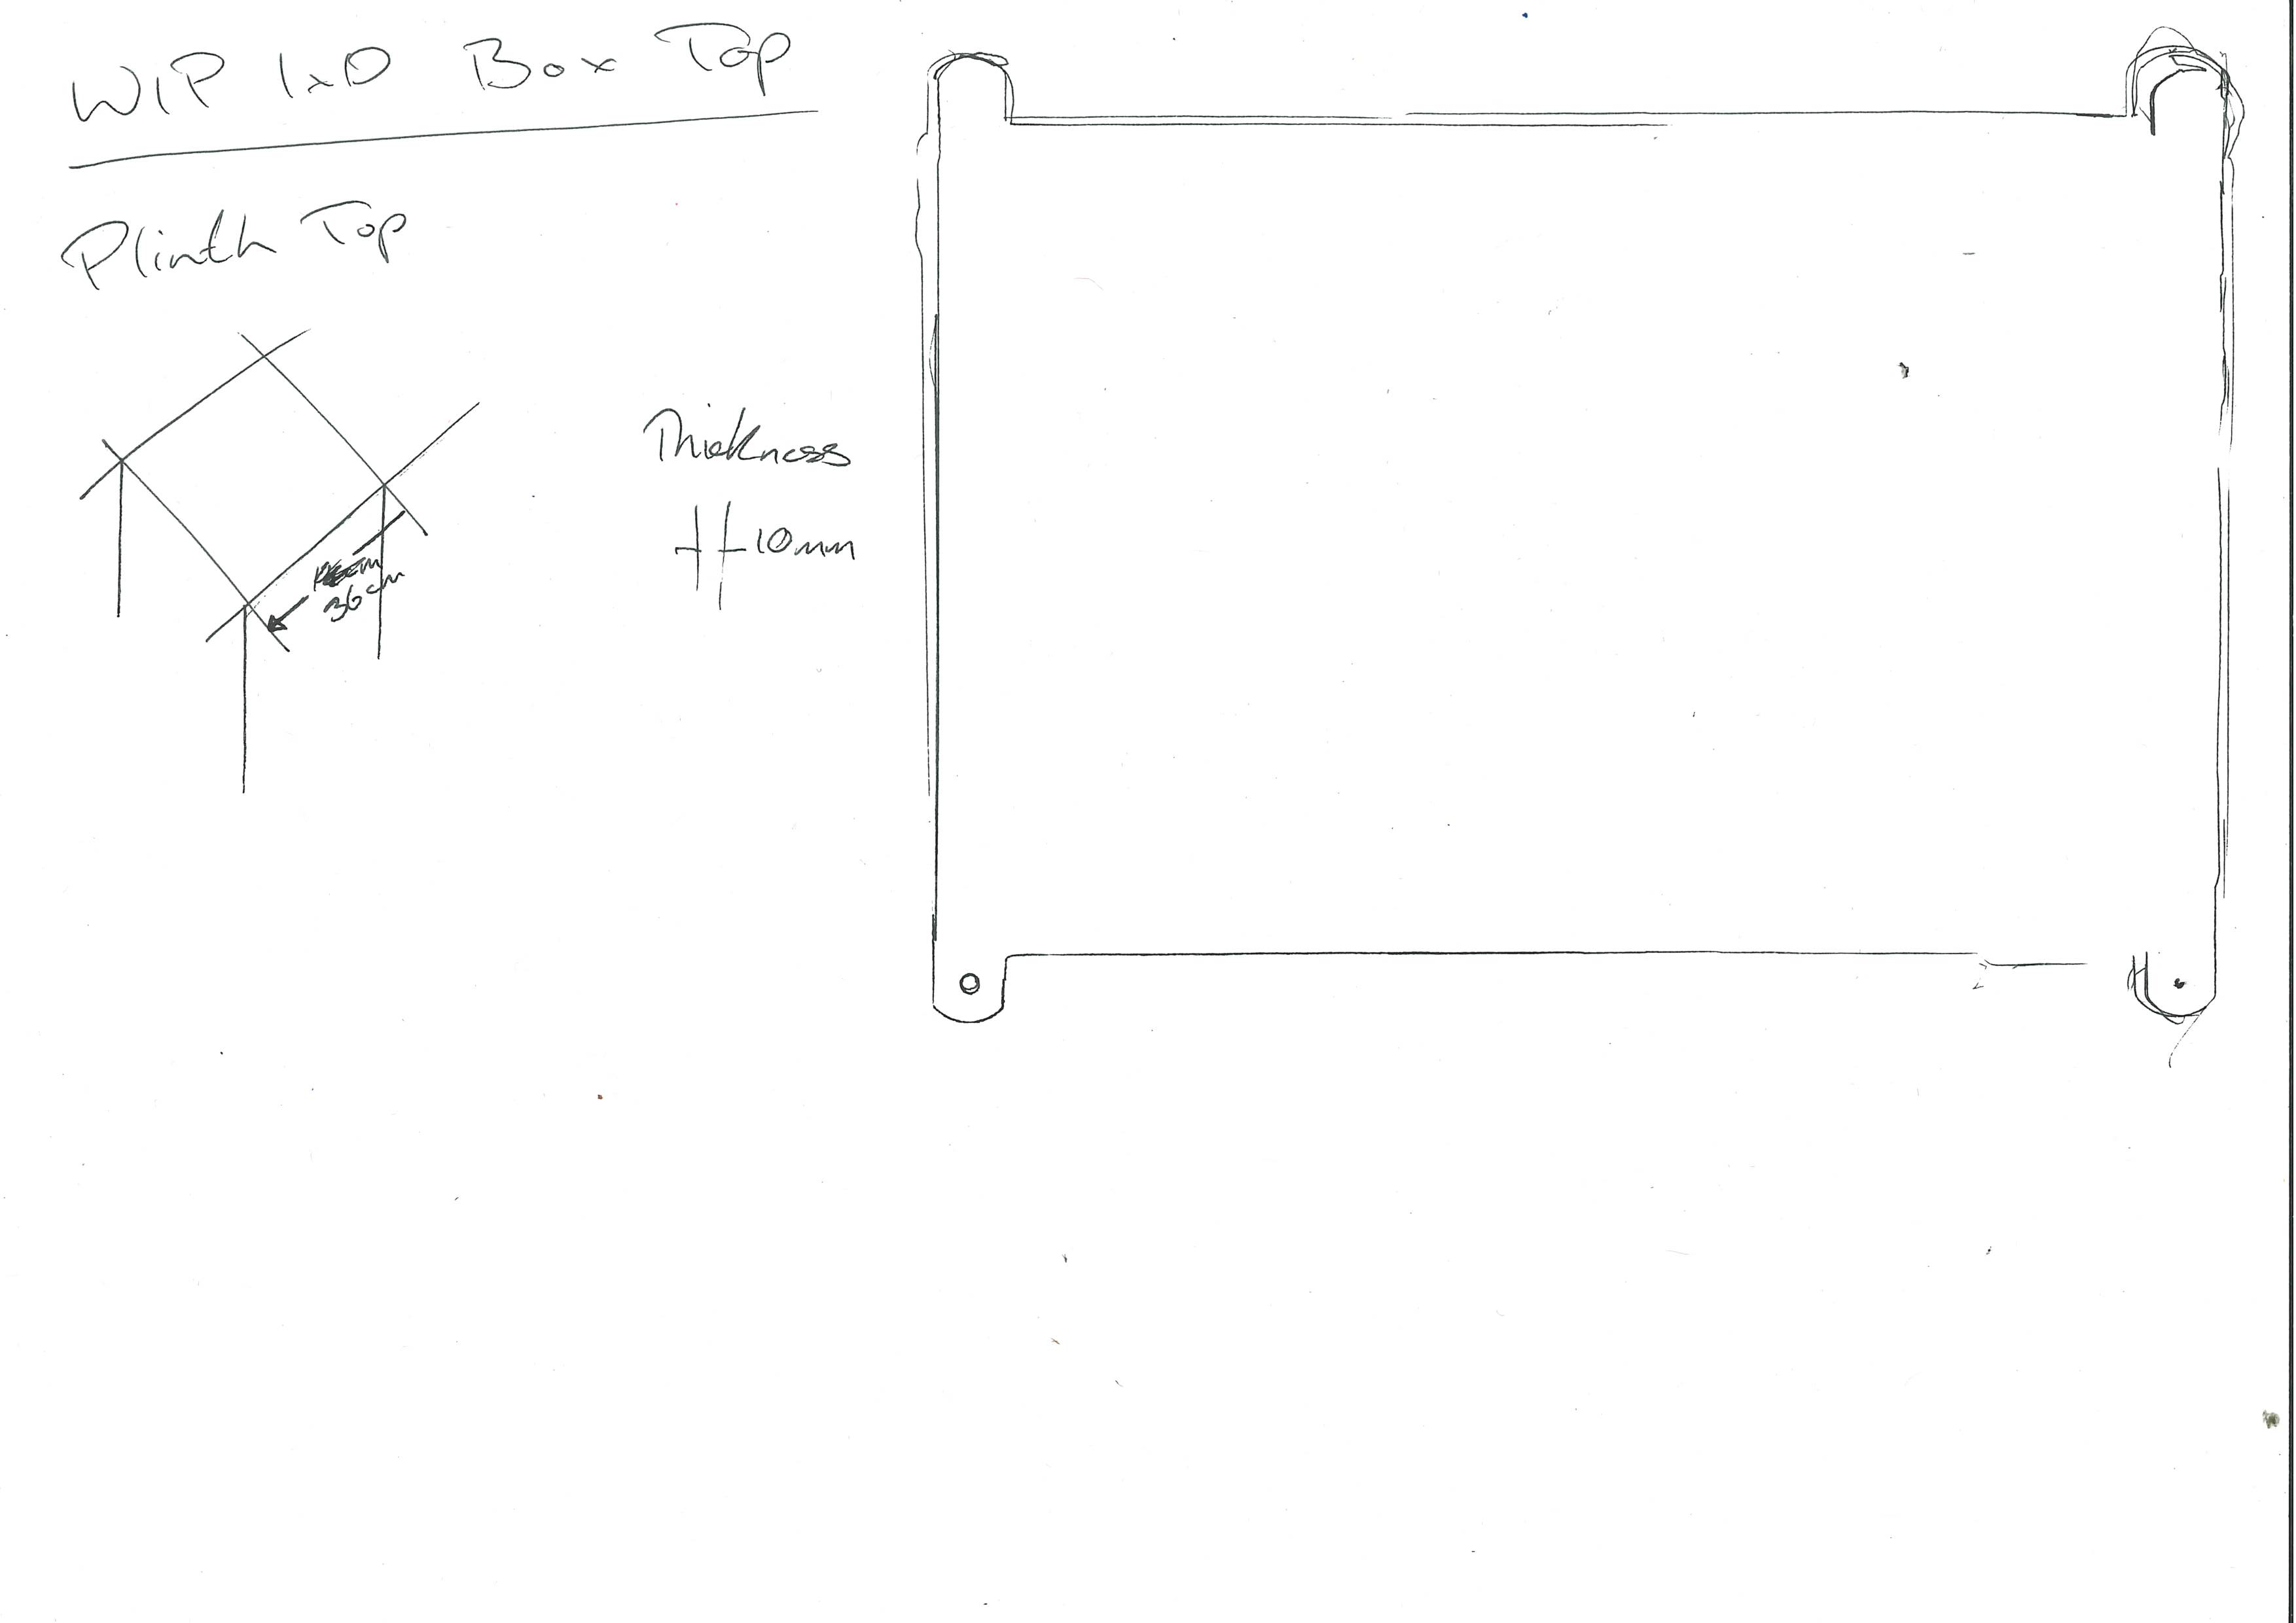
Below are more rough sketches, but now with the idea of taking an existing plinth that we have in the studio and either modifying it or building a box to act as a top of the plinth that will hold the touch screen and the wiring of the media player
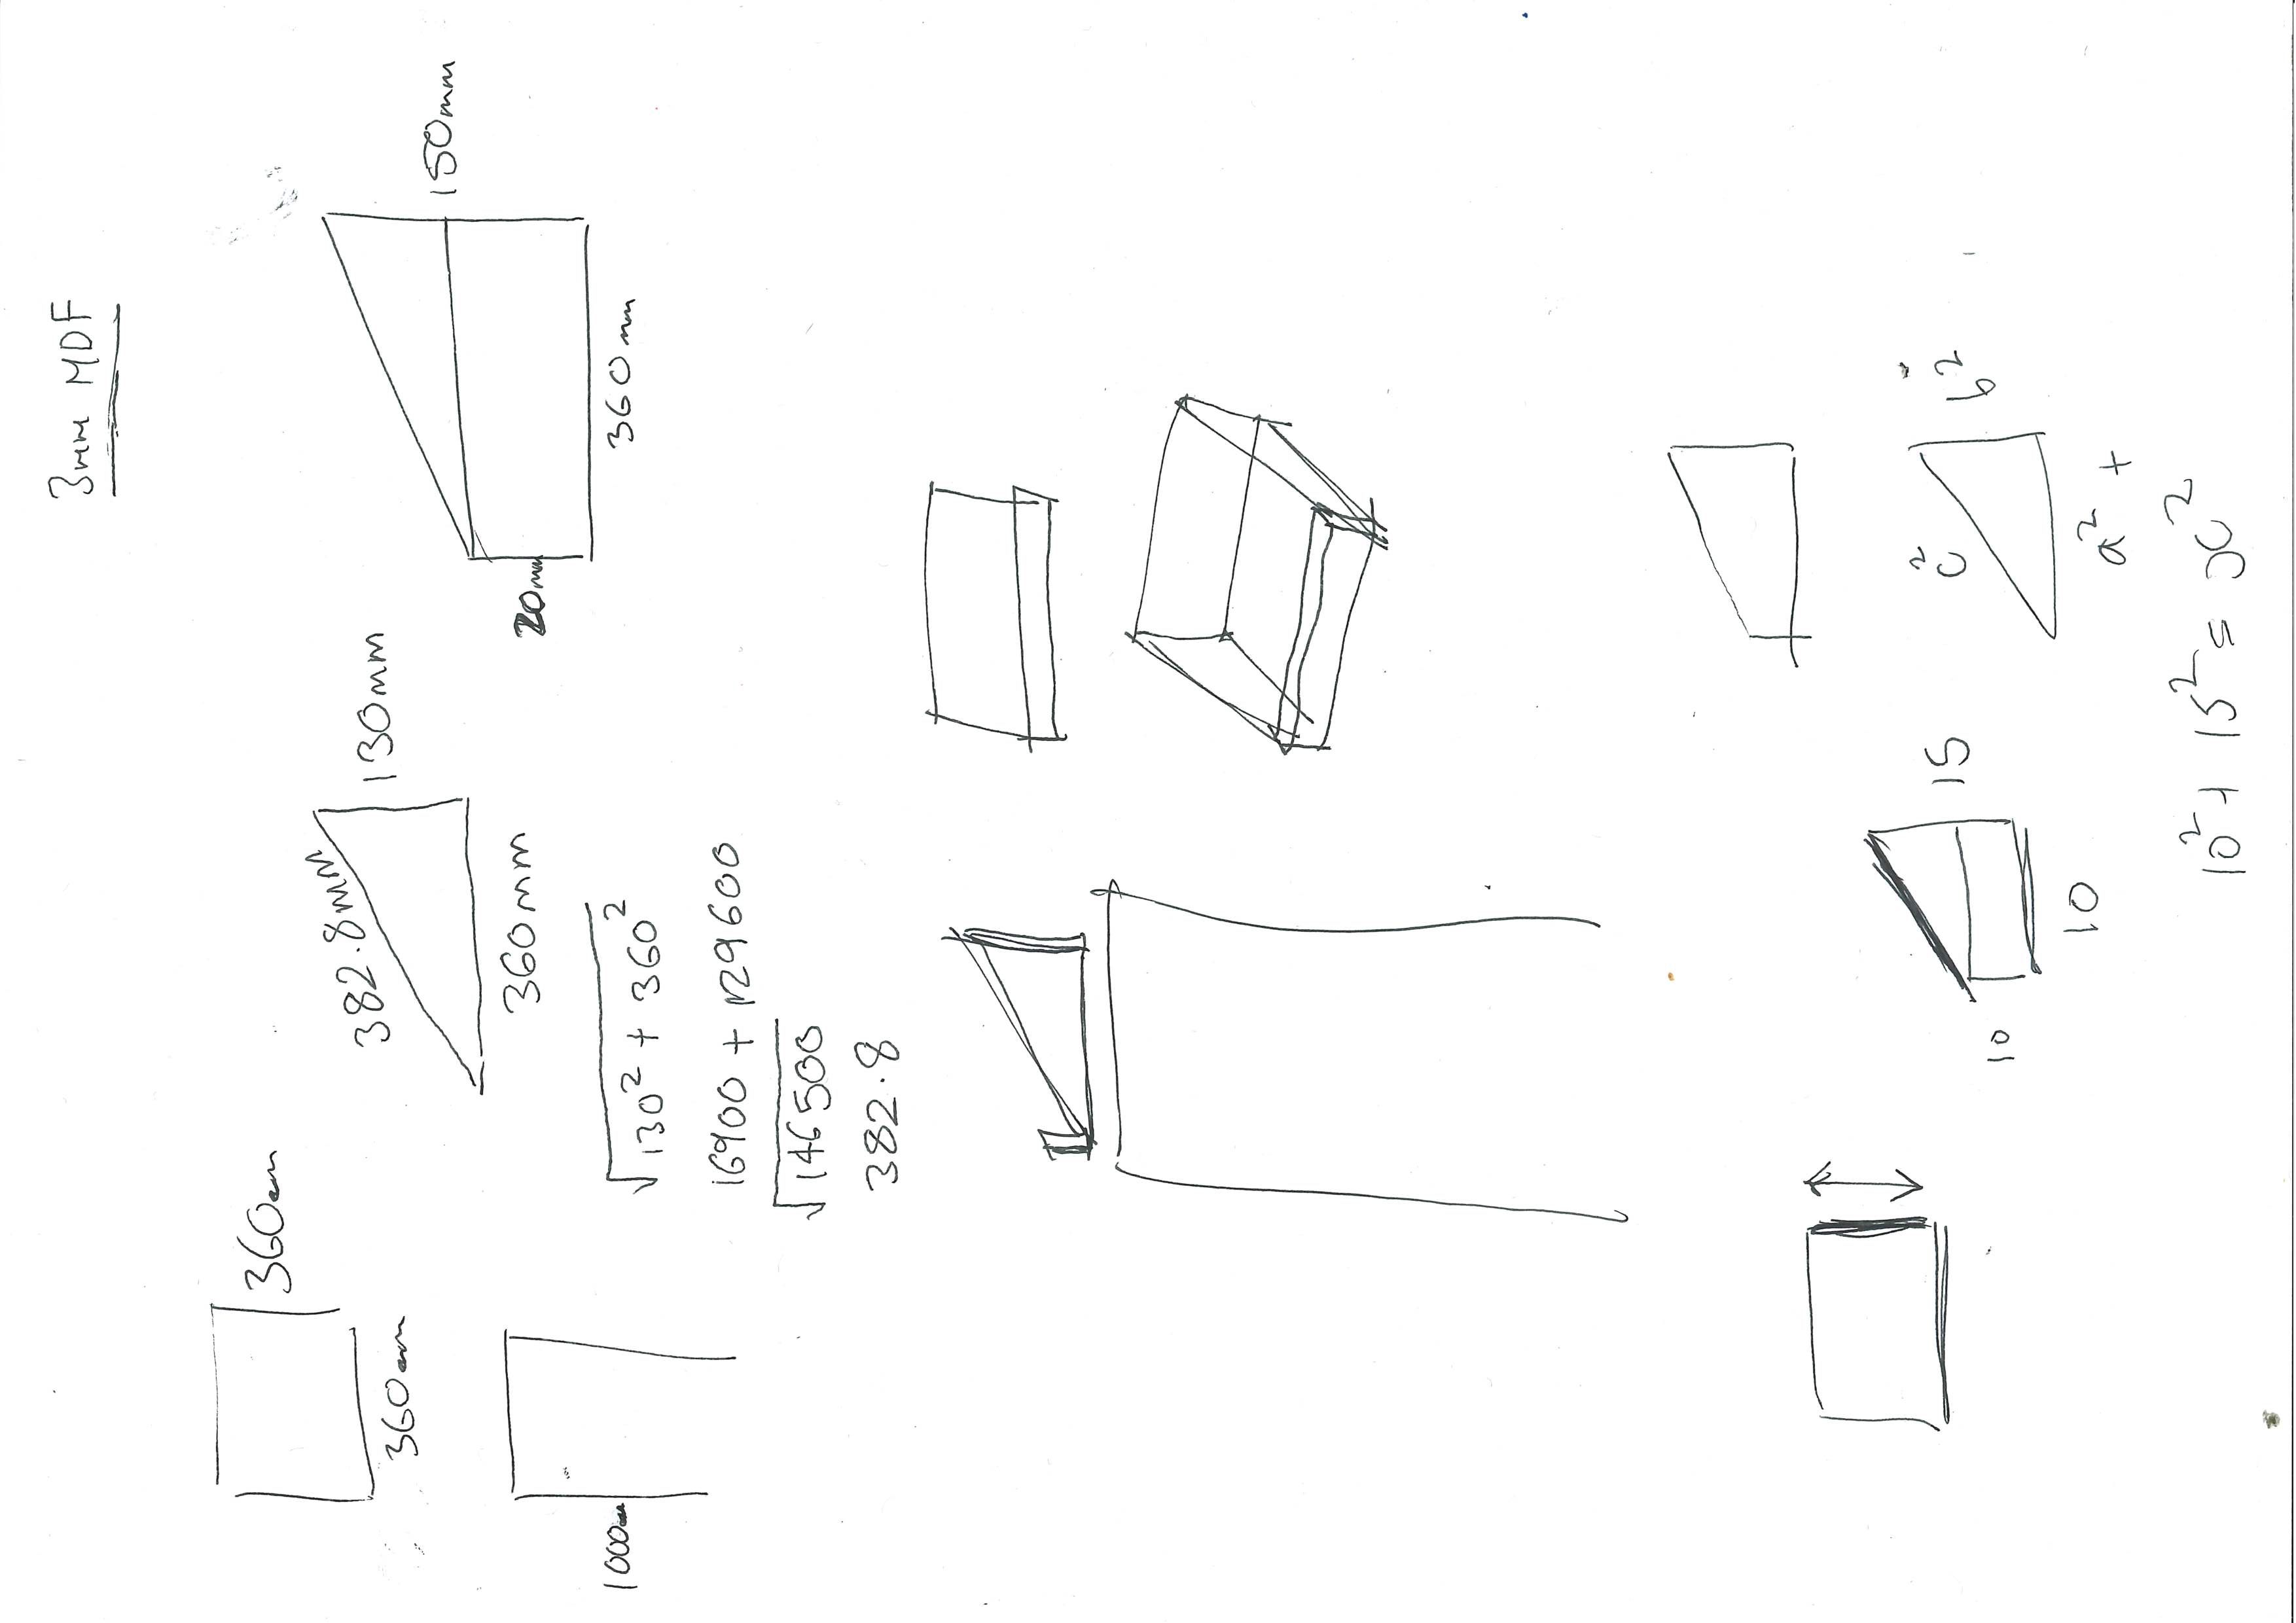
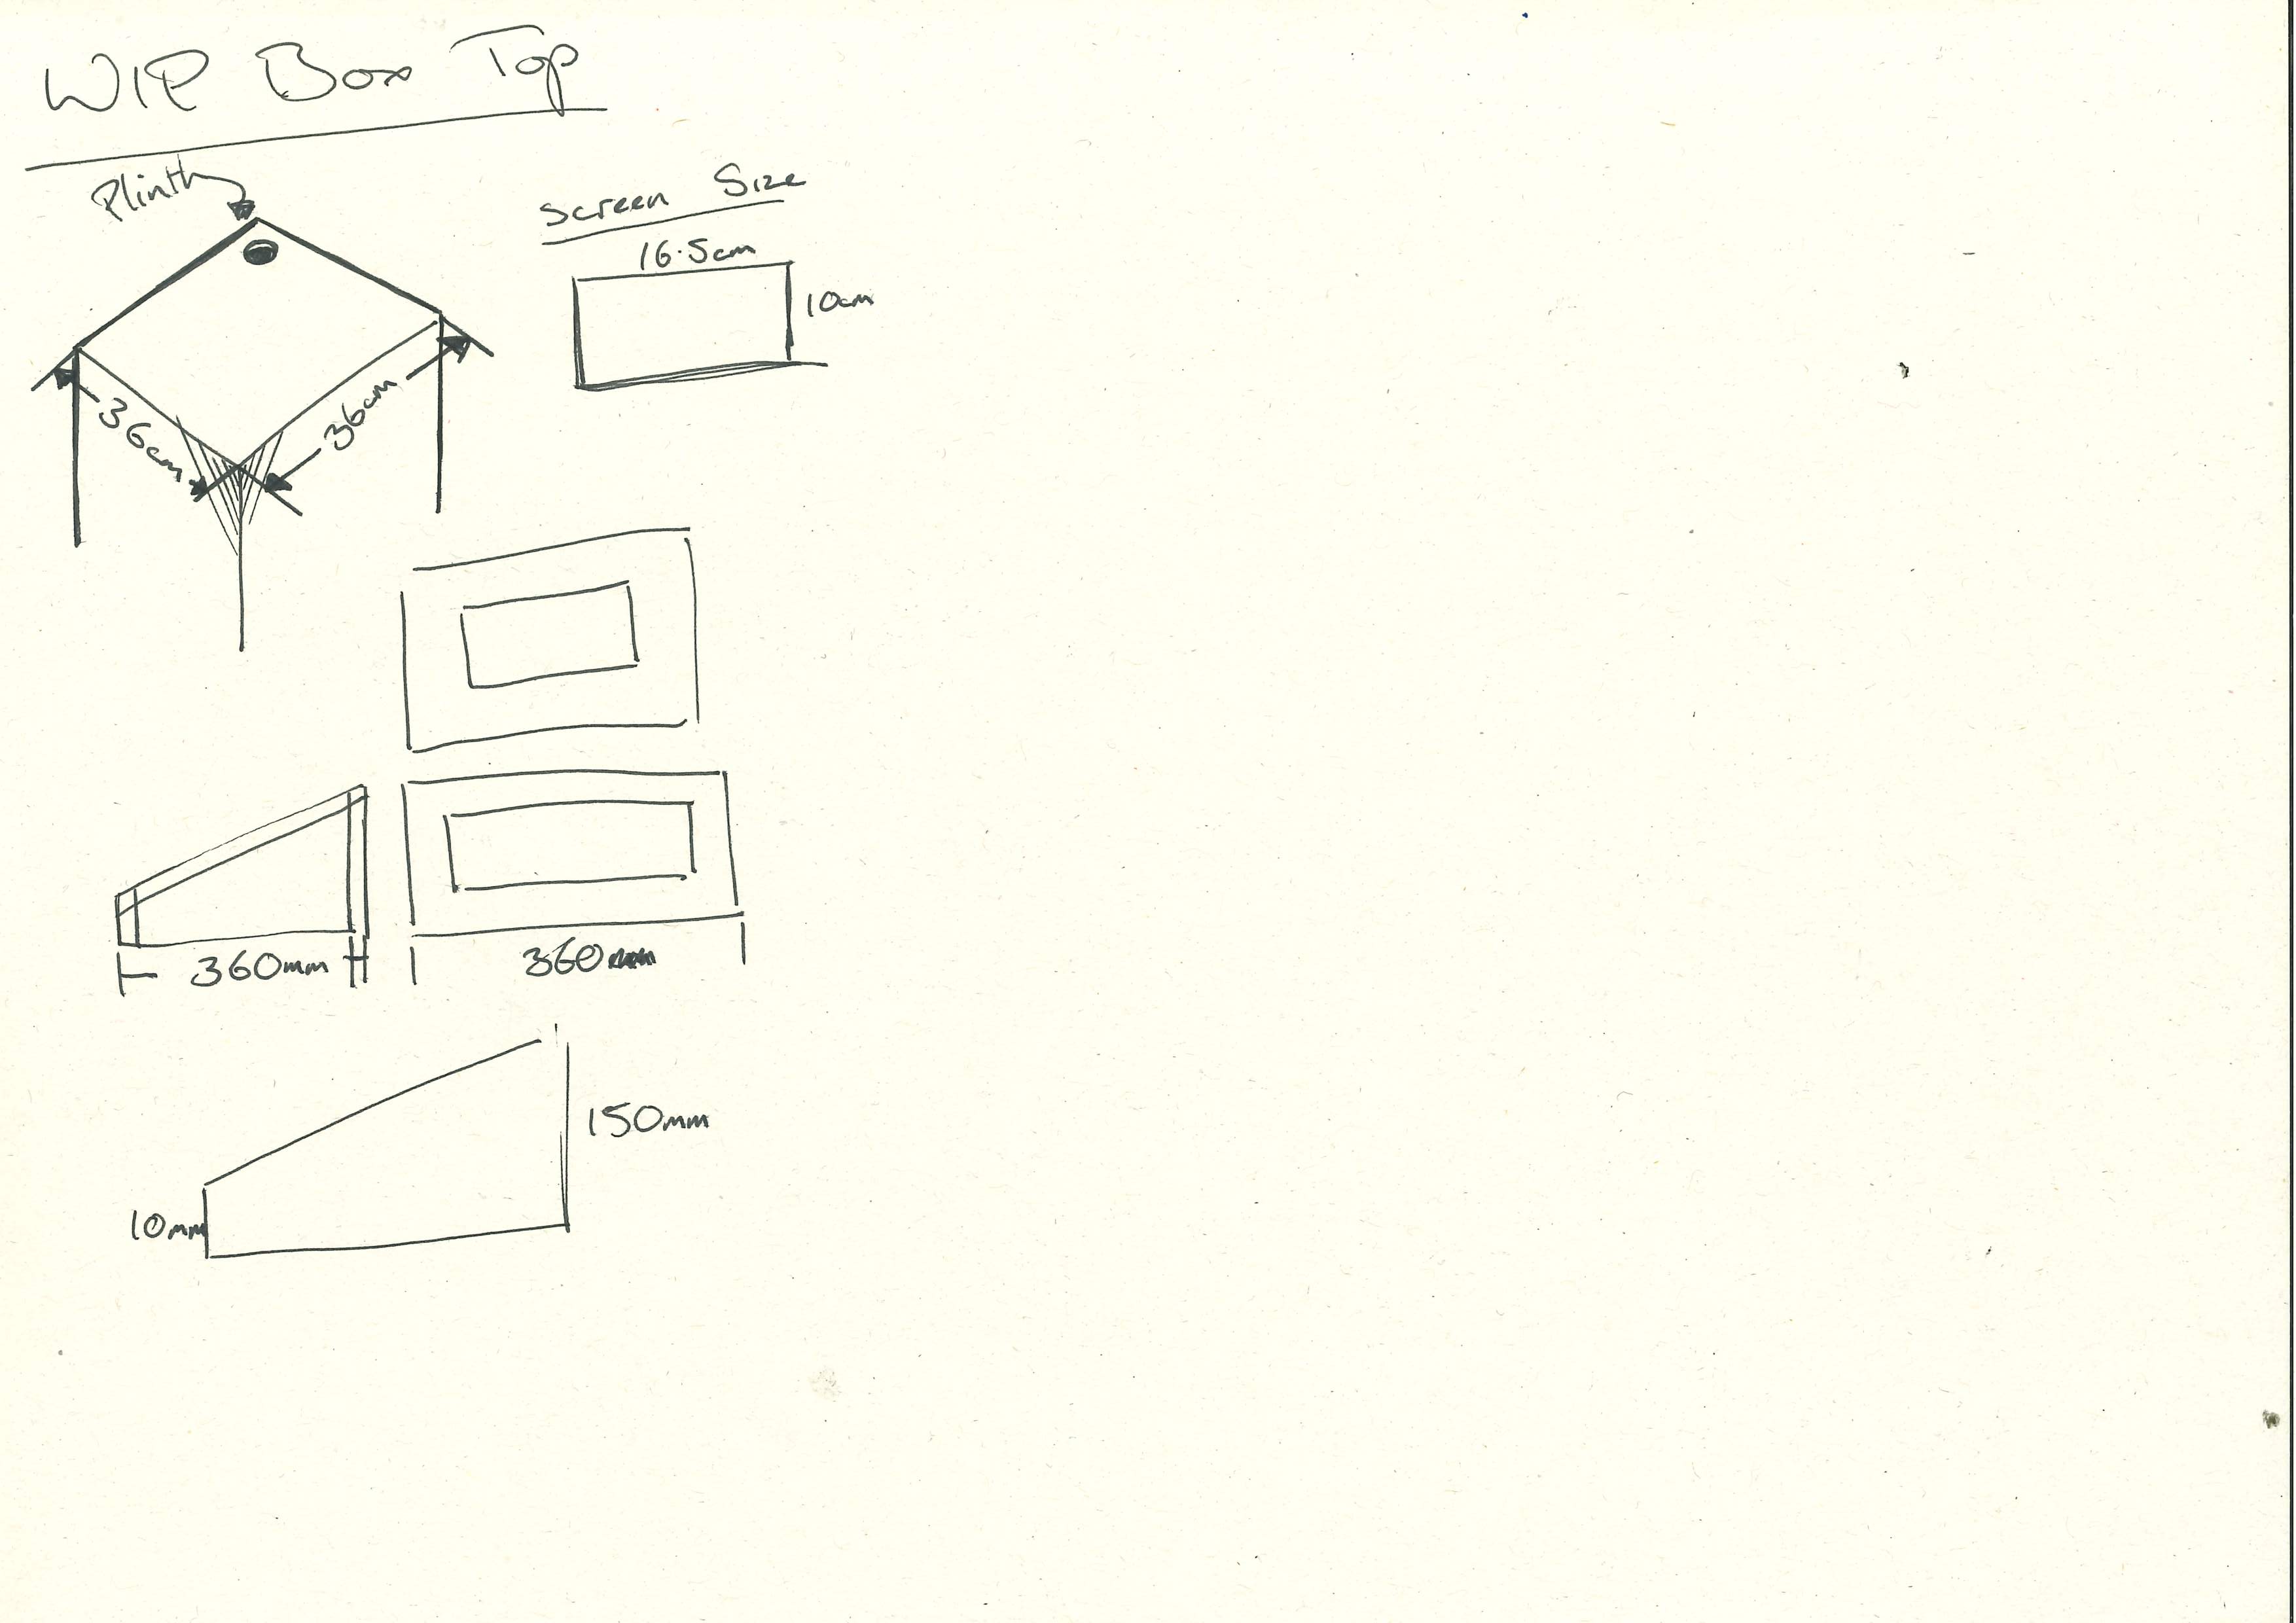
And below is a more finalised idea of how close the short-throw projector will need to be before the keystoning becomes too extreme, and images start to lose quality.
Another note on this sketch is that, by cutting channels into existing plinths, I can wire everything internally, getting a little closer to the clean, professional look I’m aiming for.
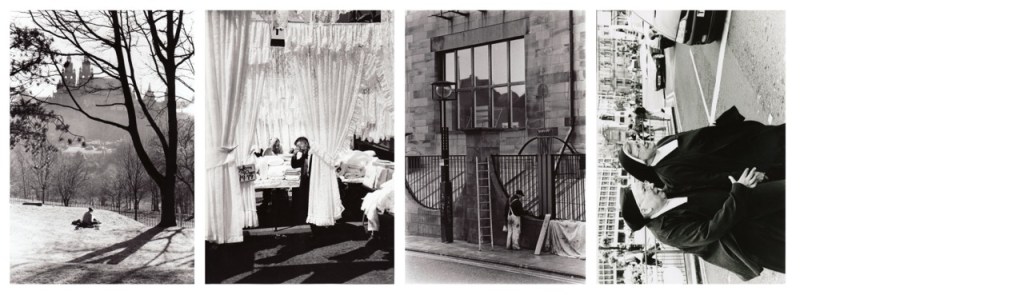
Photography:
After getting the photography printed at the Stow, I had them ready to mount, and luckily for me, Nat generously donated the foam board that she had from the previous year and was no longer using. They were a bit larger than A4 and discoloured around the edges, but that meant I could cut and spray-mount the photography roughly in the centre, then trim the excess.
When discussing with the TSD photography staff at the stow, they showed me that simply mounting the pictures on foam board and mounting them to the wall with command strips elevated them to the level of a photography exhibition.
DeSimulate:
Throughout most of this year, as well as working on my studio work, my DH&T and Extending Design, I have also been part of an exhibition outside GSA/IxD, with a few of my colleagues. At the end of this week, there was the first run of our exhibition.

Leave a comment